Quick-start checklists for the three most common day-to-day roles. Each assumes you already have the right permissions — see the Admin Guide if a step is missing.
Real Estate Broker / Sales Manager
You oversee inventory and a team of agents — your checklist spans both sides.
Daily
Check Command Center for team-wide pipeline health.
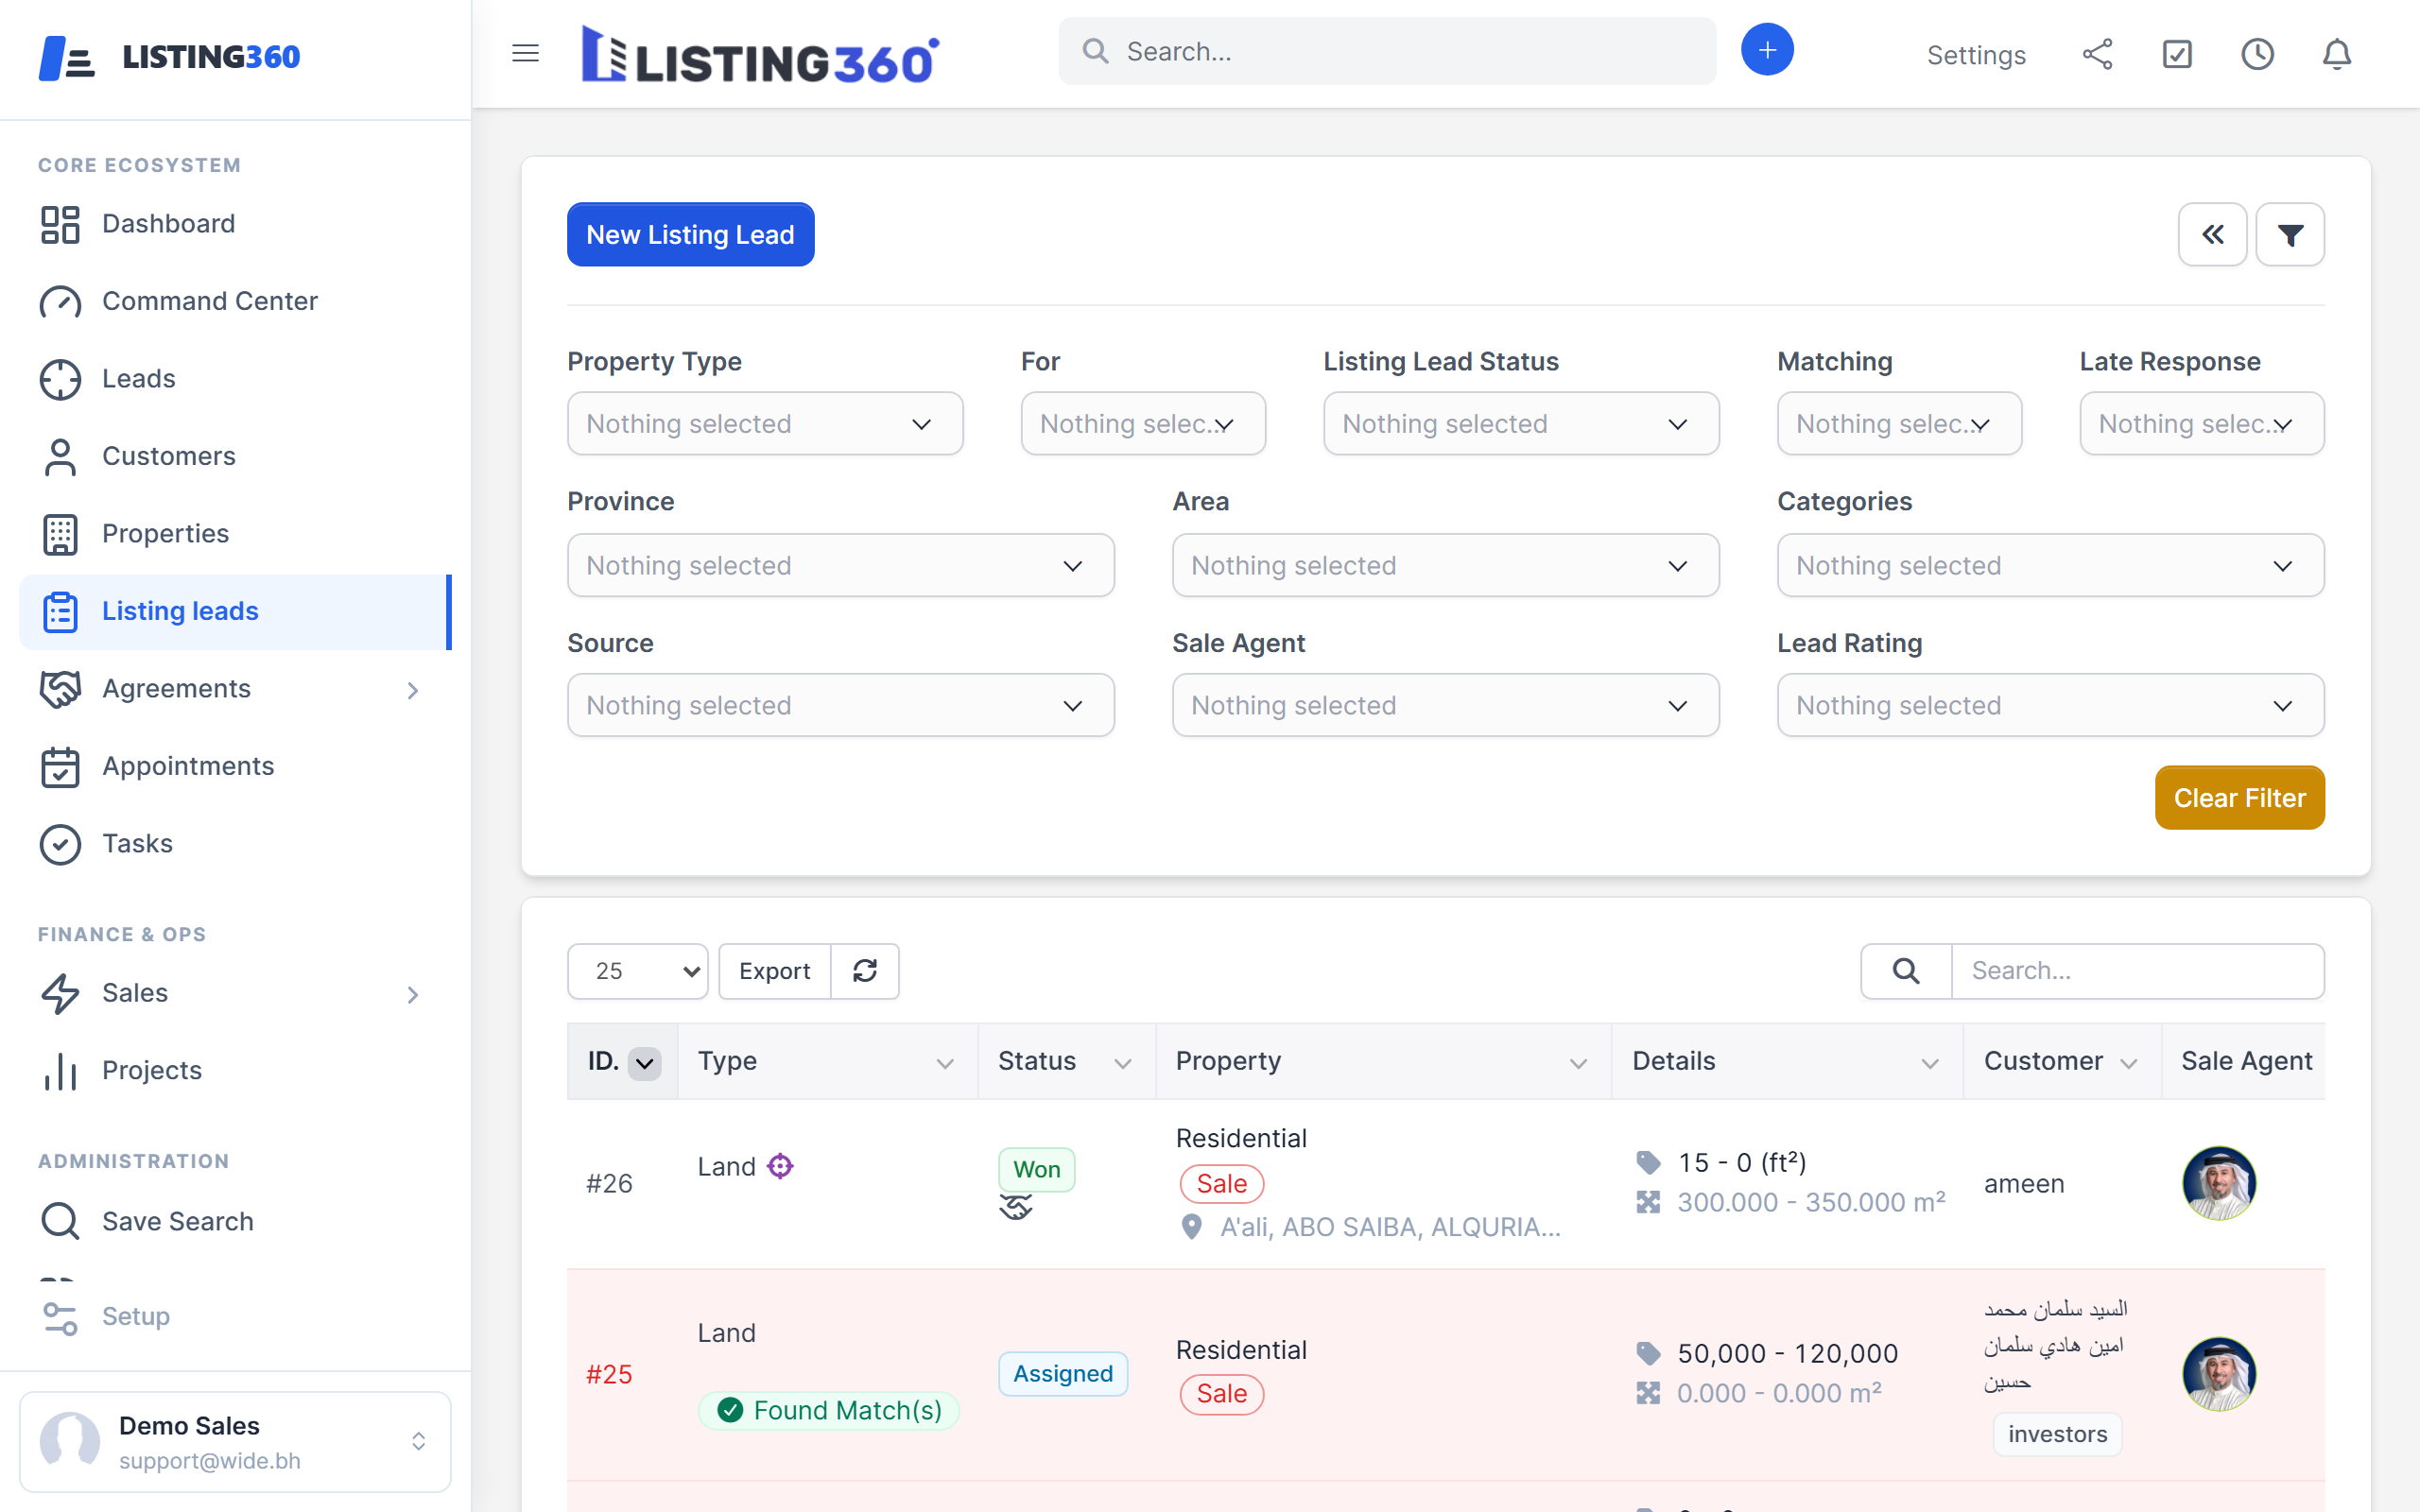
Review Listing leads → Requests for new inbound enquiries awaiting triage.
Check for Bypassed Agent alerts — investigate promptly.
Skim SLA breach notifications, if enabled.
Weekly
Review the Recycle queue — confirm Lost leads are being picked up.
Audit new Property Agreements awaiting manager/owner approval.
As needed
Add a new sales agent, filling in Designation, License No., QR-code license, RERA URL, and Show on Website.
Create/adjust a Listing lead Source for a new marketing channel.
Set staff permissions per agent (Staff → Permissions).
This follows the exact pipeline in the Admin Guide, sourced from the platform's most-recently-updated lead workflow. Follow it in order — the system enforces valid next steps anyway.
1
A lead lands in your queue
Find it under Listing leads — convert from Requests first if it came from the website.
Confirm you're the assigned agent, or use Assign Staff to claim it.
2
Qualify the lead
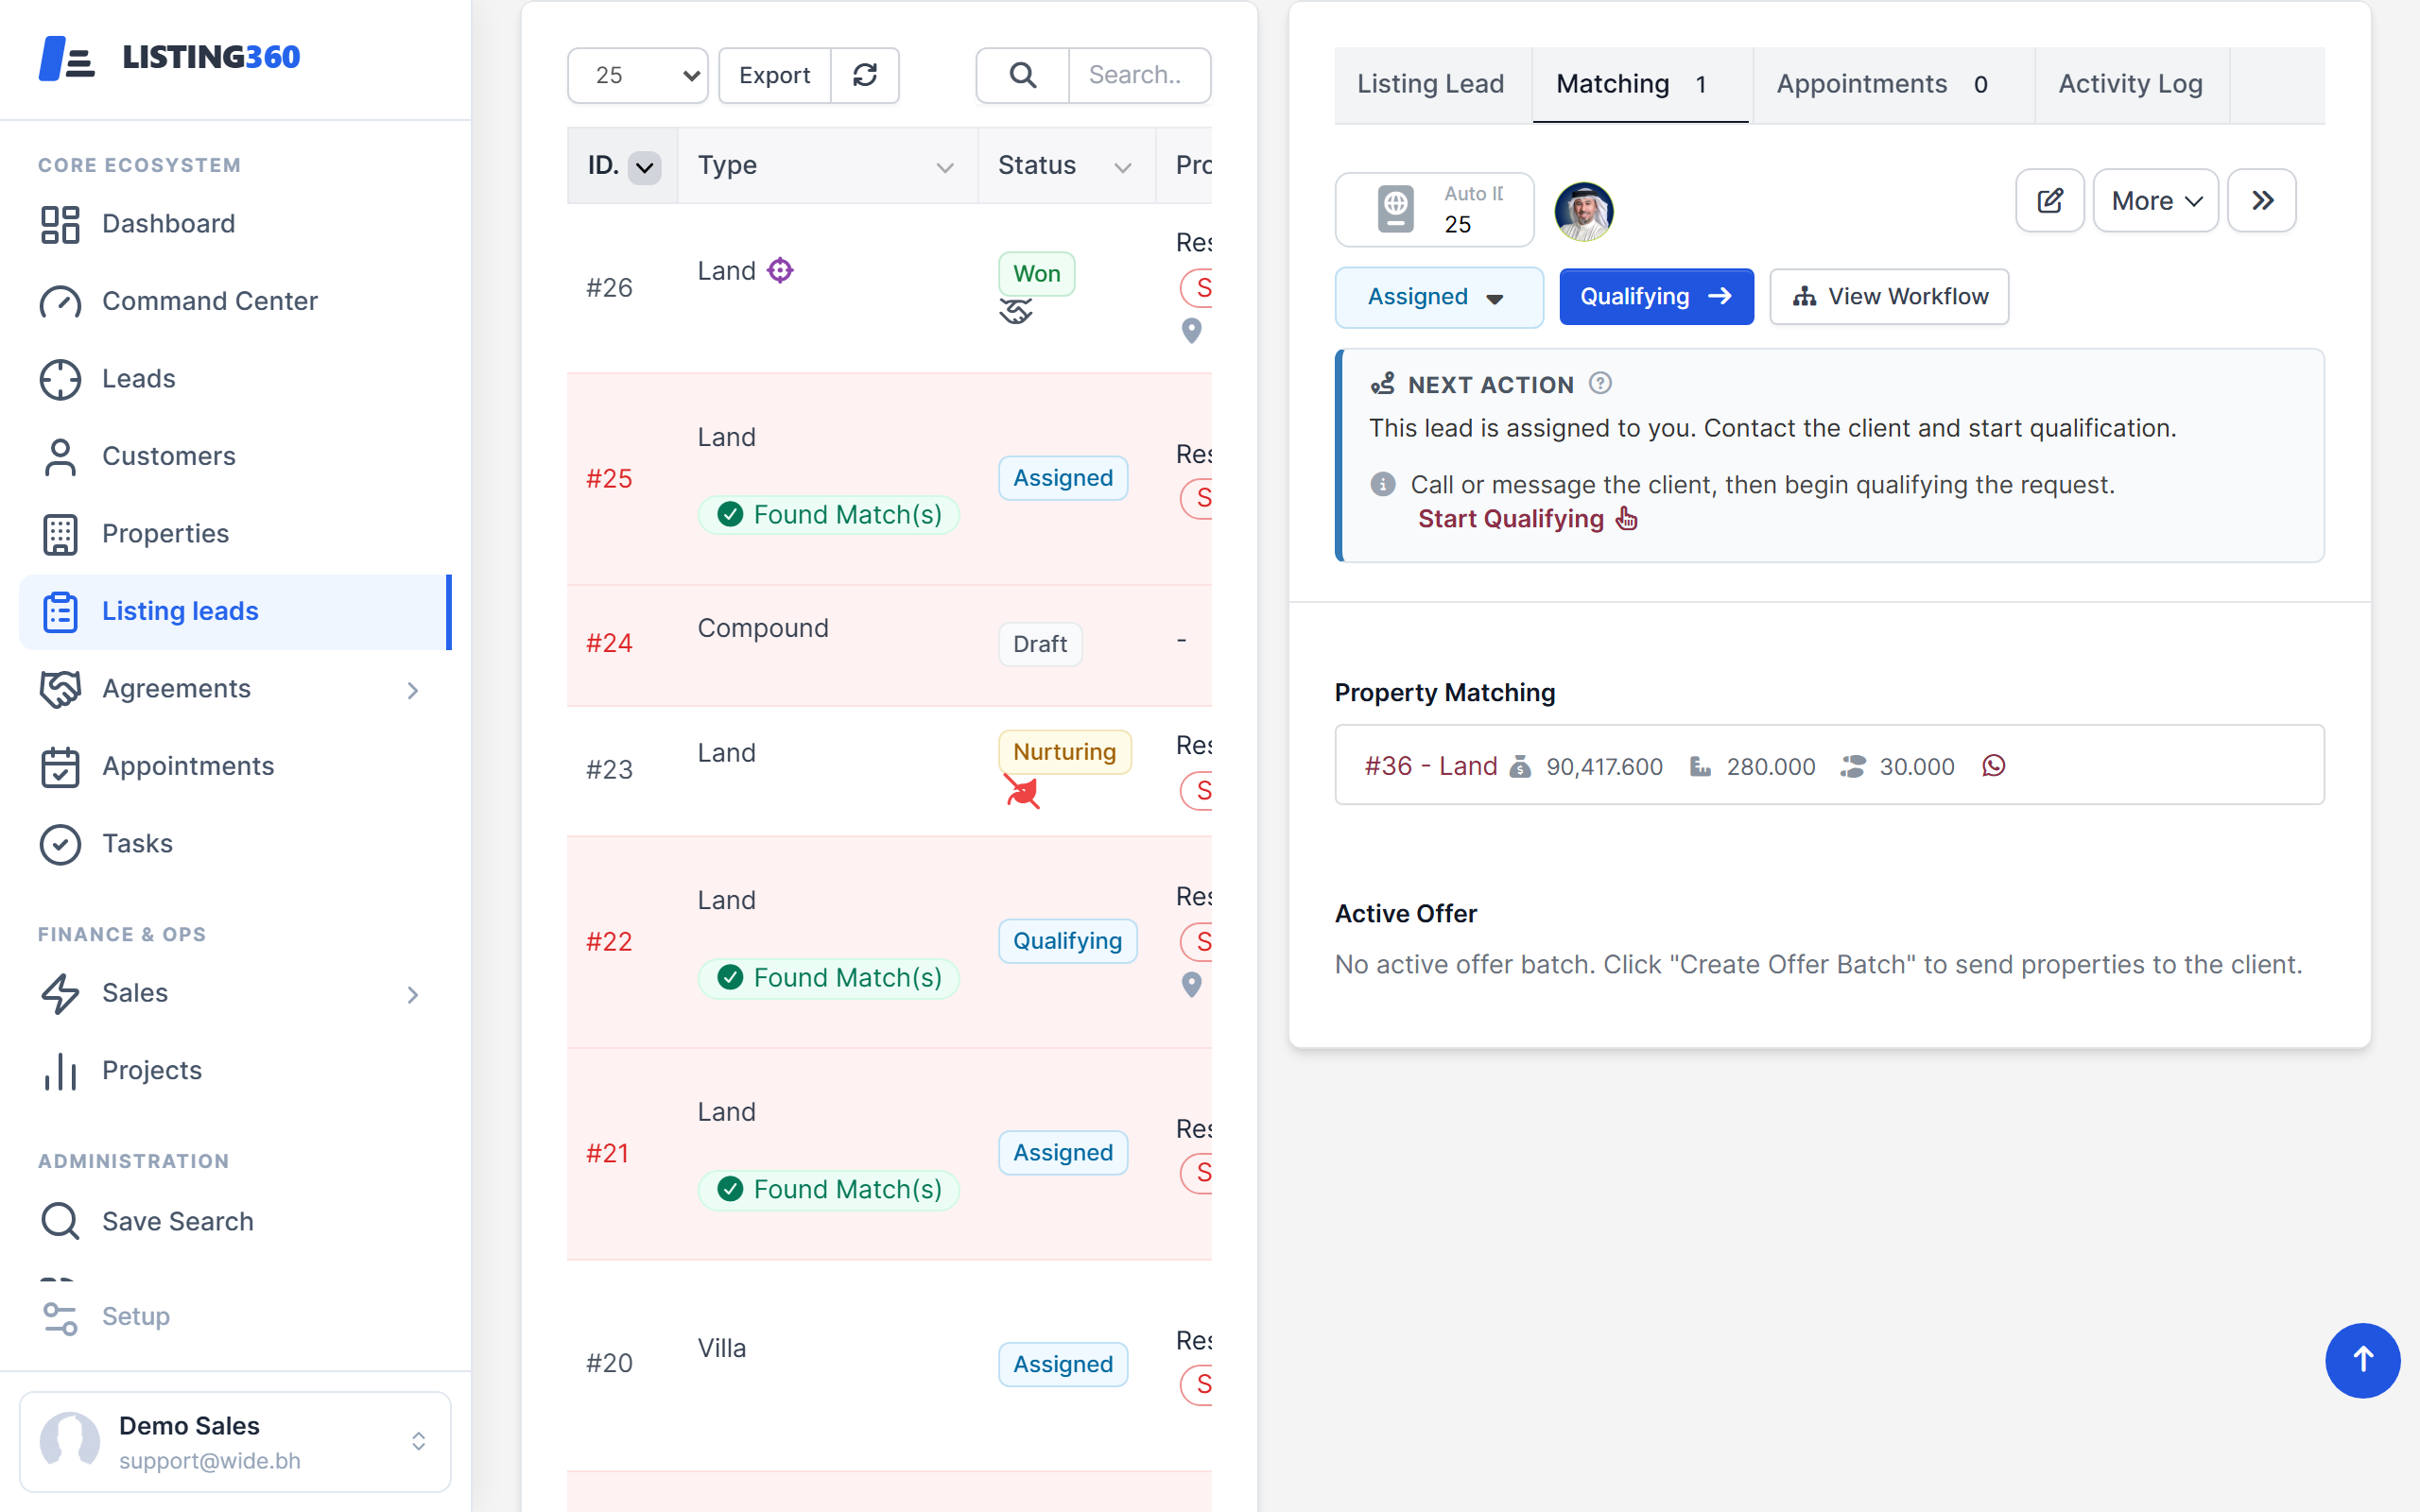
Contact the client, confirm intent/budget/timeline. Move status: Draft/Assigned → Qualifying → Qualified.
Not a real opportunity? Use the disposition form to mark Unqualified instead of leaving it stuck.
3
Match inventory
Search Properties for stock matching the client's criteria, then move to Matching.
Use Create Offer to send a shareable batch — no client login required.
Watch the offer status update through its five states: Offered, Viewed, Selected, Rejected, or Visited.
4
Schedule a viewing
Book an Appointment — this automatically advances the lead to Appointment Scheduled.
Mark it complete after the viewing happens.
5
Negotiate
Move to Negotiating once terms discussion begins. Keep real activity notes — this feeds your manager's reporting.
6
Close the deal
Create the Property Agreement — this automatically moves the lead to Won. There's no separate "mark as won" button; if it's not showing Won, check the agreement was created correctly.
!
If the deal falls through
Use the disposition form: Lost (with a reason), Nurturing (parked, you can reassign it to yourself later), or Bypassed Agent specifically if the client went around you — this alerts all sales managers automatically.
SLA reminder: if your team has Response SLA enabled, you have a limited window (default 15 minutes — confirm your team's actual setting) to act on a newly-assigned lead before it's flagged and your manager is notified.
Marketing / Content Manager
You own what visitors see on the public website, not the sales pipeline itself.
Setting up the site
Branding/logo/nav: Website Settings → Header.
Footer content: Website Settings → Footer.
Social links: Website Settings → Social Media.
Search behavior: Website Settings → Search. See the Frontend Guide for what's actually editable vs. fixed.
Listing visibility
Use Labels to mark listings Featured/New for homepage prominence.
Confirm a listing's status is one the public site is configured to show.
Coordinate with sales on who appears in the public Agent Directory — controlled per-staff-member, not centrally.
SEO & lead coordination
Check SEO Health regularly for a content health report.
Manage the sitemap and robots.txt under Setup → SEO.
Launching a new campaign? Ask a Broker to add it as a Listing lead Source so leads are attributed correctly.